Repair, maintenance & cleaning
Introduction To repair a camera or lens you have to make time for it. This site is not for first aid on cameras and lenses. Time or patience and adequate tools are essential to obtain a good result. Try to find time and the rights tools. If both are not available don´t start! Or leave the job to a trained repairman. Good tools are half the job. For cleaning use soft tissues, soft tooth brushes (for babies) and some soft cotton sticks/swabs. Tools, like screw drivers, have to fit 100%. If your screw driver is too big or too small you may damage the screw. If you are not confident about your intention, buy a good repair manual (see this chapter on manuals). Finding parts for older Nikon cameras and lenses may sometimes be a difficult search. Pacificrimcamera in Salem, Oregon, USA - however - is running an interesting web site offering various original Nikon parts. Be aware that all information given below is based on the experience of the author. Following his advises doesn´t imply a good result and no responsibility is granted. Note: Nikon Corporation is NOT able and willing to provide camera parts of older Nikon cameras and lenses.! So you have to look for donor bodies to find proper parts.
Safety!!Be careful with flammable detergents, oil and grease. When opening flashes or (compact) cameras with a built-in flash, be aware of the capacitor/condenser. Even if not used for months the capacitor/condenser may still give a high voltage shock! Remove all batteries and/or disconnect your gear from whatever power source! Note: Persons with surgically-implanted cardiac pacemaker devices should keep well clear of electrical circuits and capacitors!
Rangefinder cameras and lensesmaintenance on a Nikon I/M/S rangefinder camera maintenance on a Nikon S2 rangefinder camera (with the kind assistance of Kirk Chao) how to open and to clean a standard rangefinder lens how to open a tele rangefinder lens Nikon single lens reflex (film) camerasrestoration of an old Nikon F SLR camera how to remove the top of a Nikkormat/Nikomat camera body how to exchange a top cap of a Nikon F-90 camera body opening and cleaning a standard Nikkor SLR lens (Nikkor 1.2/55mm + Nikkor 1.8/50mm) BTW: the Nikkor 1.4/50mm. (#4xxxxx), both Nikkor 1.2/50mm AI + AI/S, all models of the Nikkor 2/50 mm (non-AI) and Nikkor 1.4/85mm. have a construction similar to that of the Nikkor 1.2/55mm. how to correct back focus and/or adjust an auto focus single lens reflex camera
Nikon digital camerasRepairing digital cameras can be a complex exercise. If you are not trained to work with electronic equipment, leave any repair to a qualified technician. Every digital camera with a built-in flash light has a capacitor which may give a high voltage shock even after it hasn't been used for months. Parts for older cameras (made before 2006) are hard to get. Coolpix cameras are made by the thousands, so better look for a similar body at camera markets. Digital SLR cameras are relatively easy to open (like the Nikon F90 above) but parts are hard to get. And you need electronic control equipment and factory software settings to be able to repair a camera. To replace body covers is an easy job. Note (1): Of most digital SLR cameras the number of shutter activations can be controlled by the camera menu or via special software (e.g. Opanda). If a new shutter unit has been placed the shutter activations counter in the camera will not be set to zero! So check if an older camera has had a shutter exchange. Note (2): Rubber covers of camera bodies may get sticky. If you can't find replacement covers it is difficult to remove the sticky feeling. There is - however - one method to get rid of it. Don't use alcohol or so, but take off/out any film, battery or memory card and place the camera in a freezer (- 18 °C / 0°F) for about half an hour. Take the camera out of the freezer and let it come to room temperature. Sticky stuff is gone! Tests have been made with Nikon F100 and Nikon D1. No guarantee that it will work with other cameras, but give it a try!
Cleaning
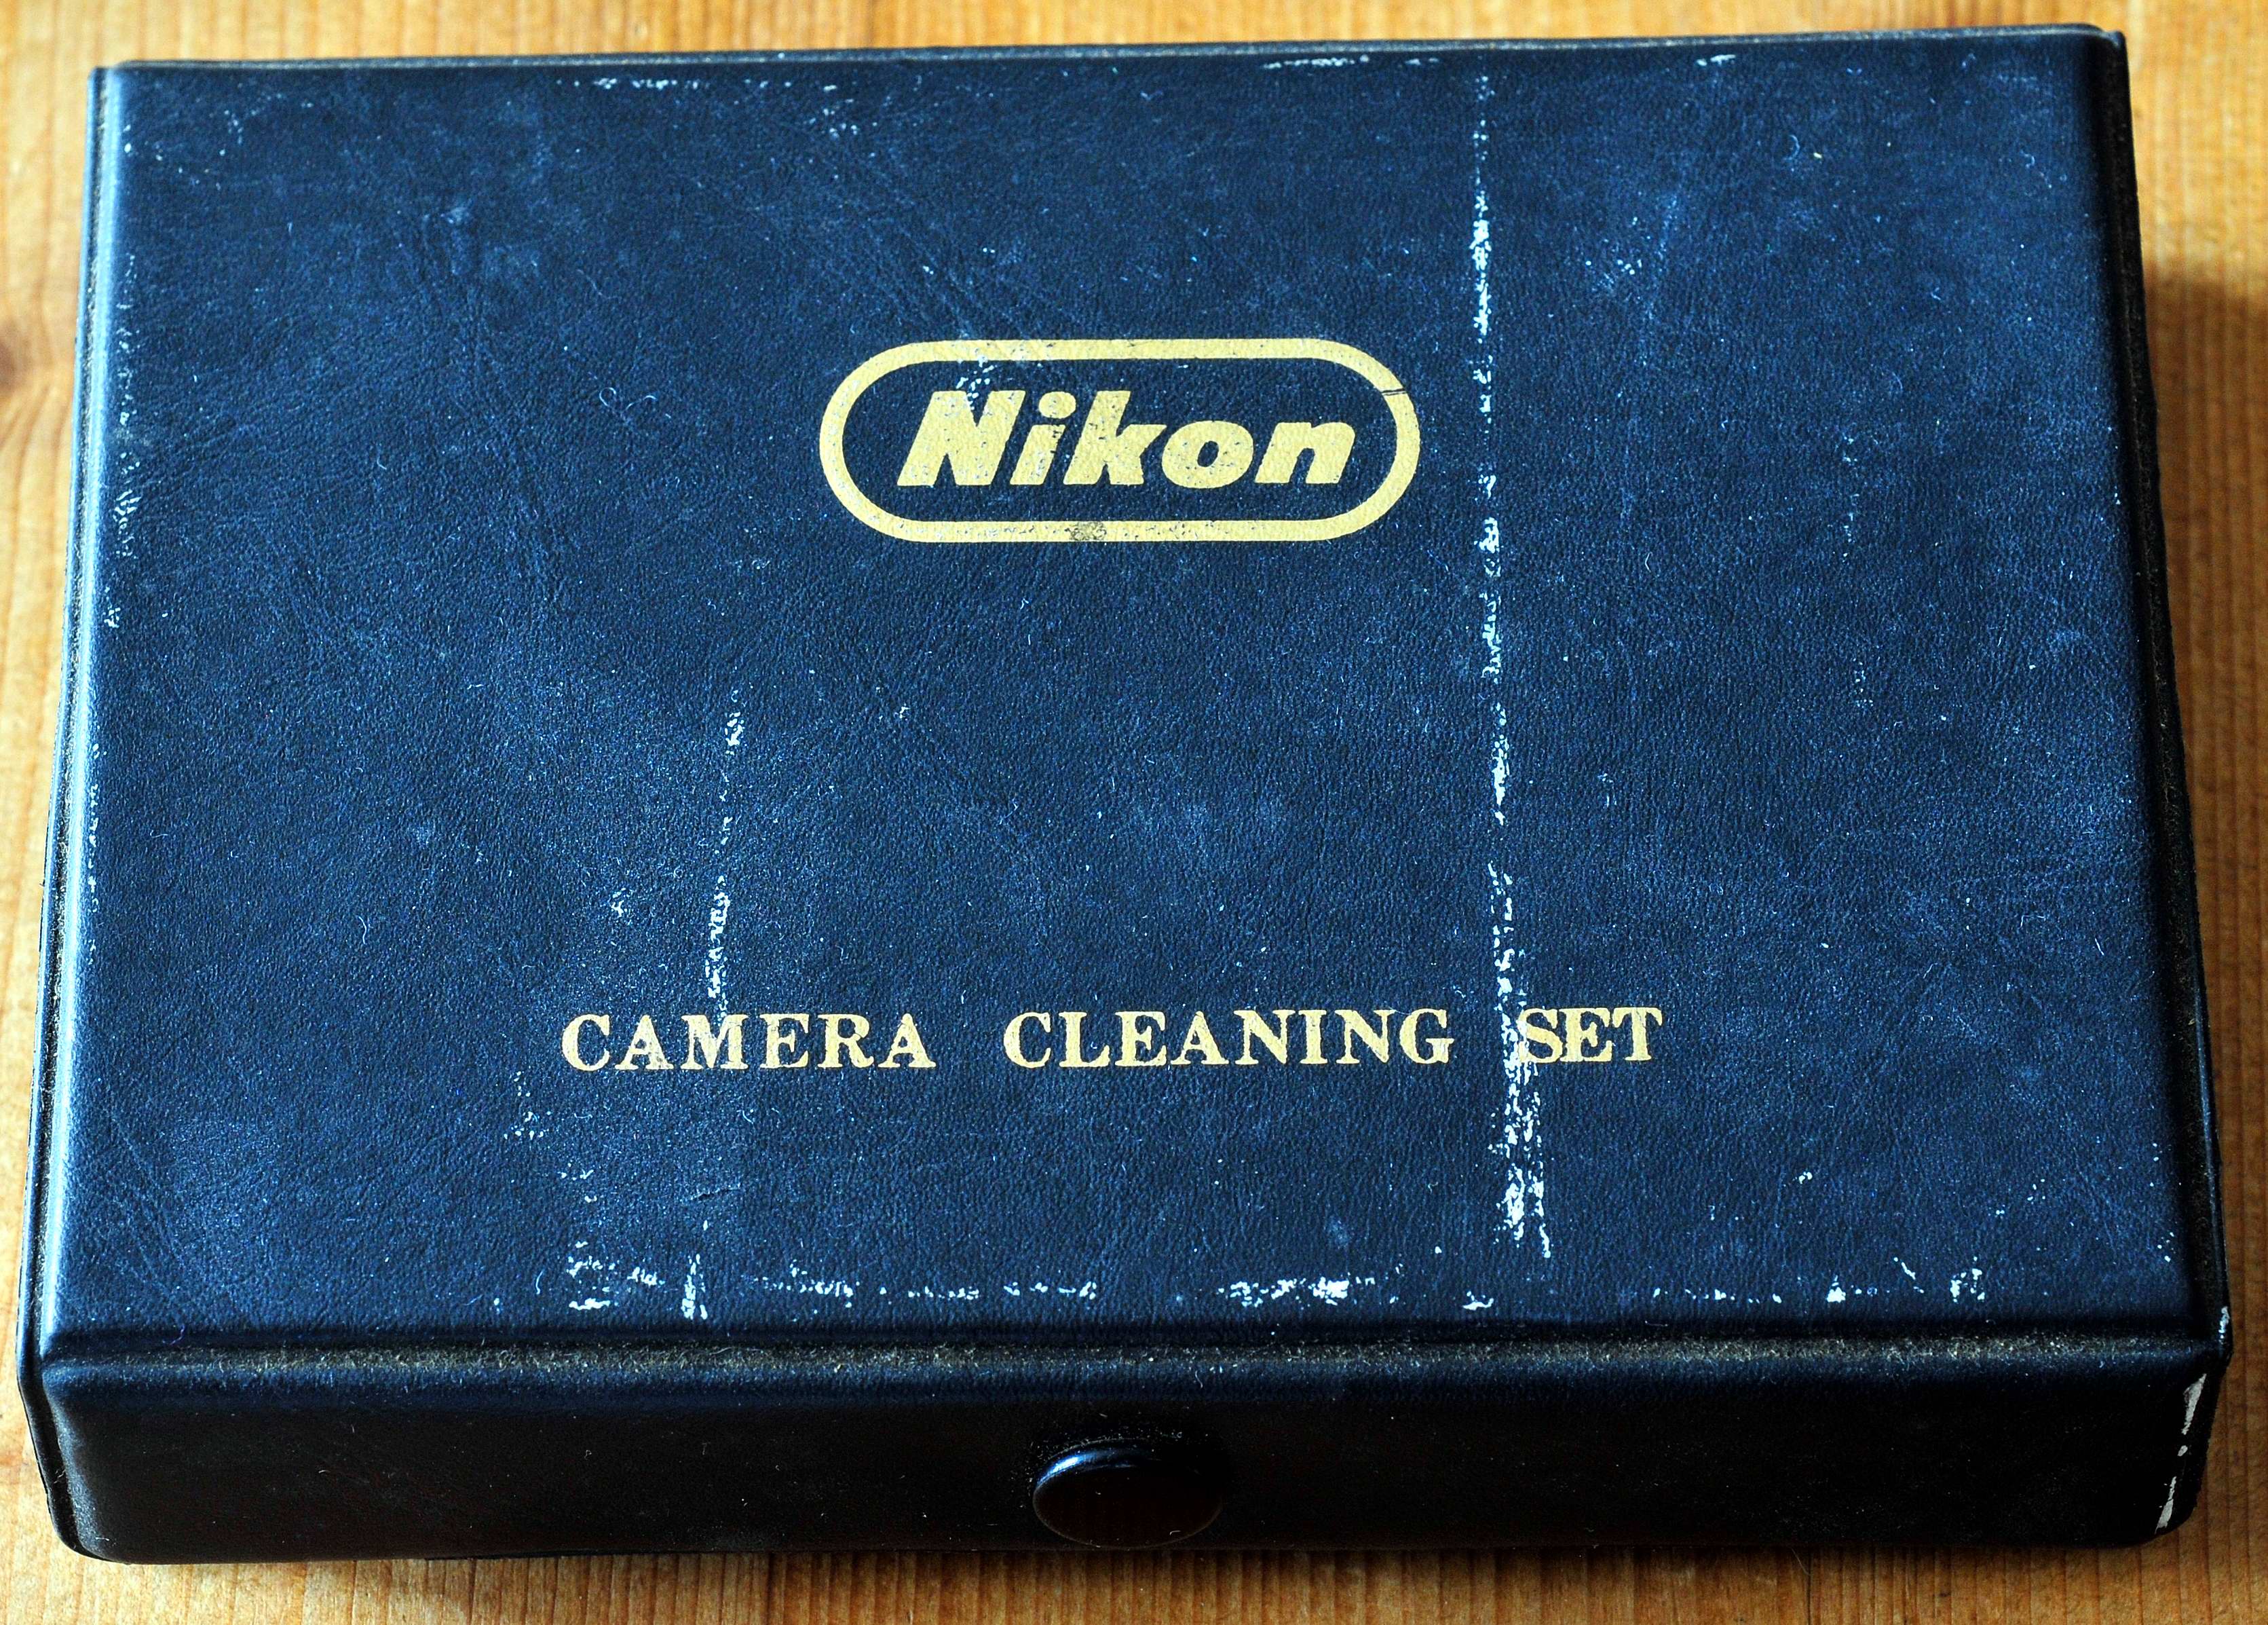
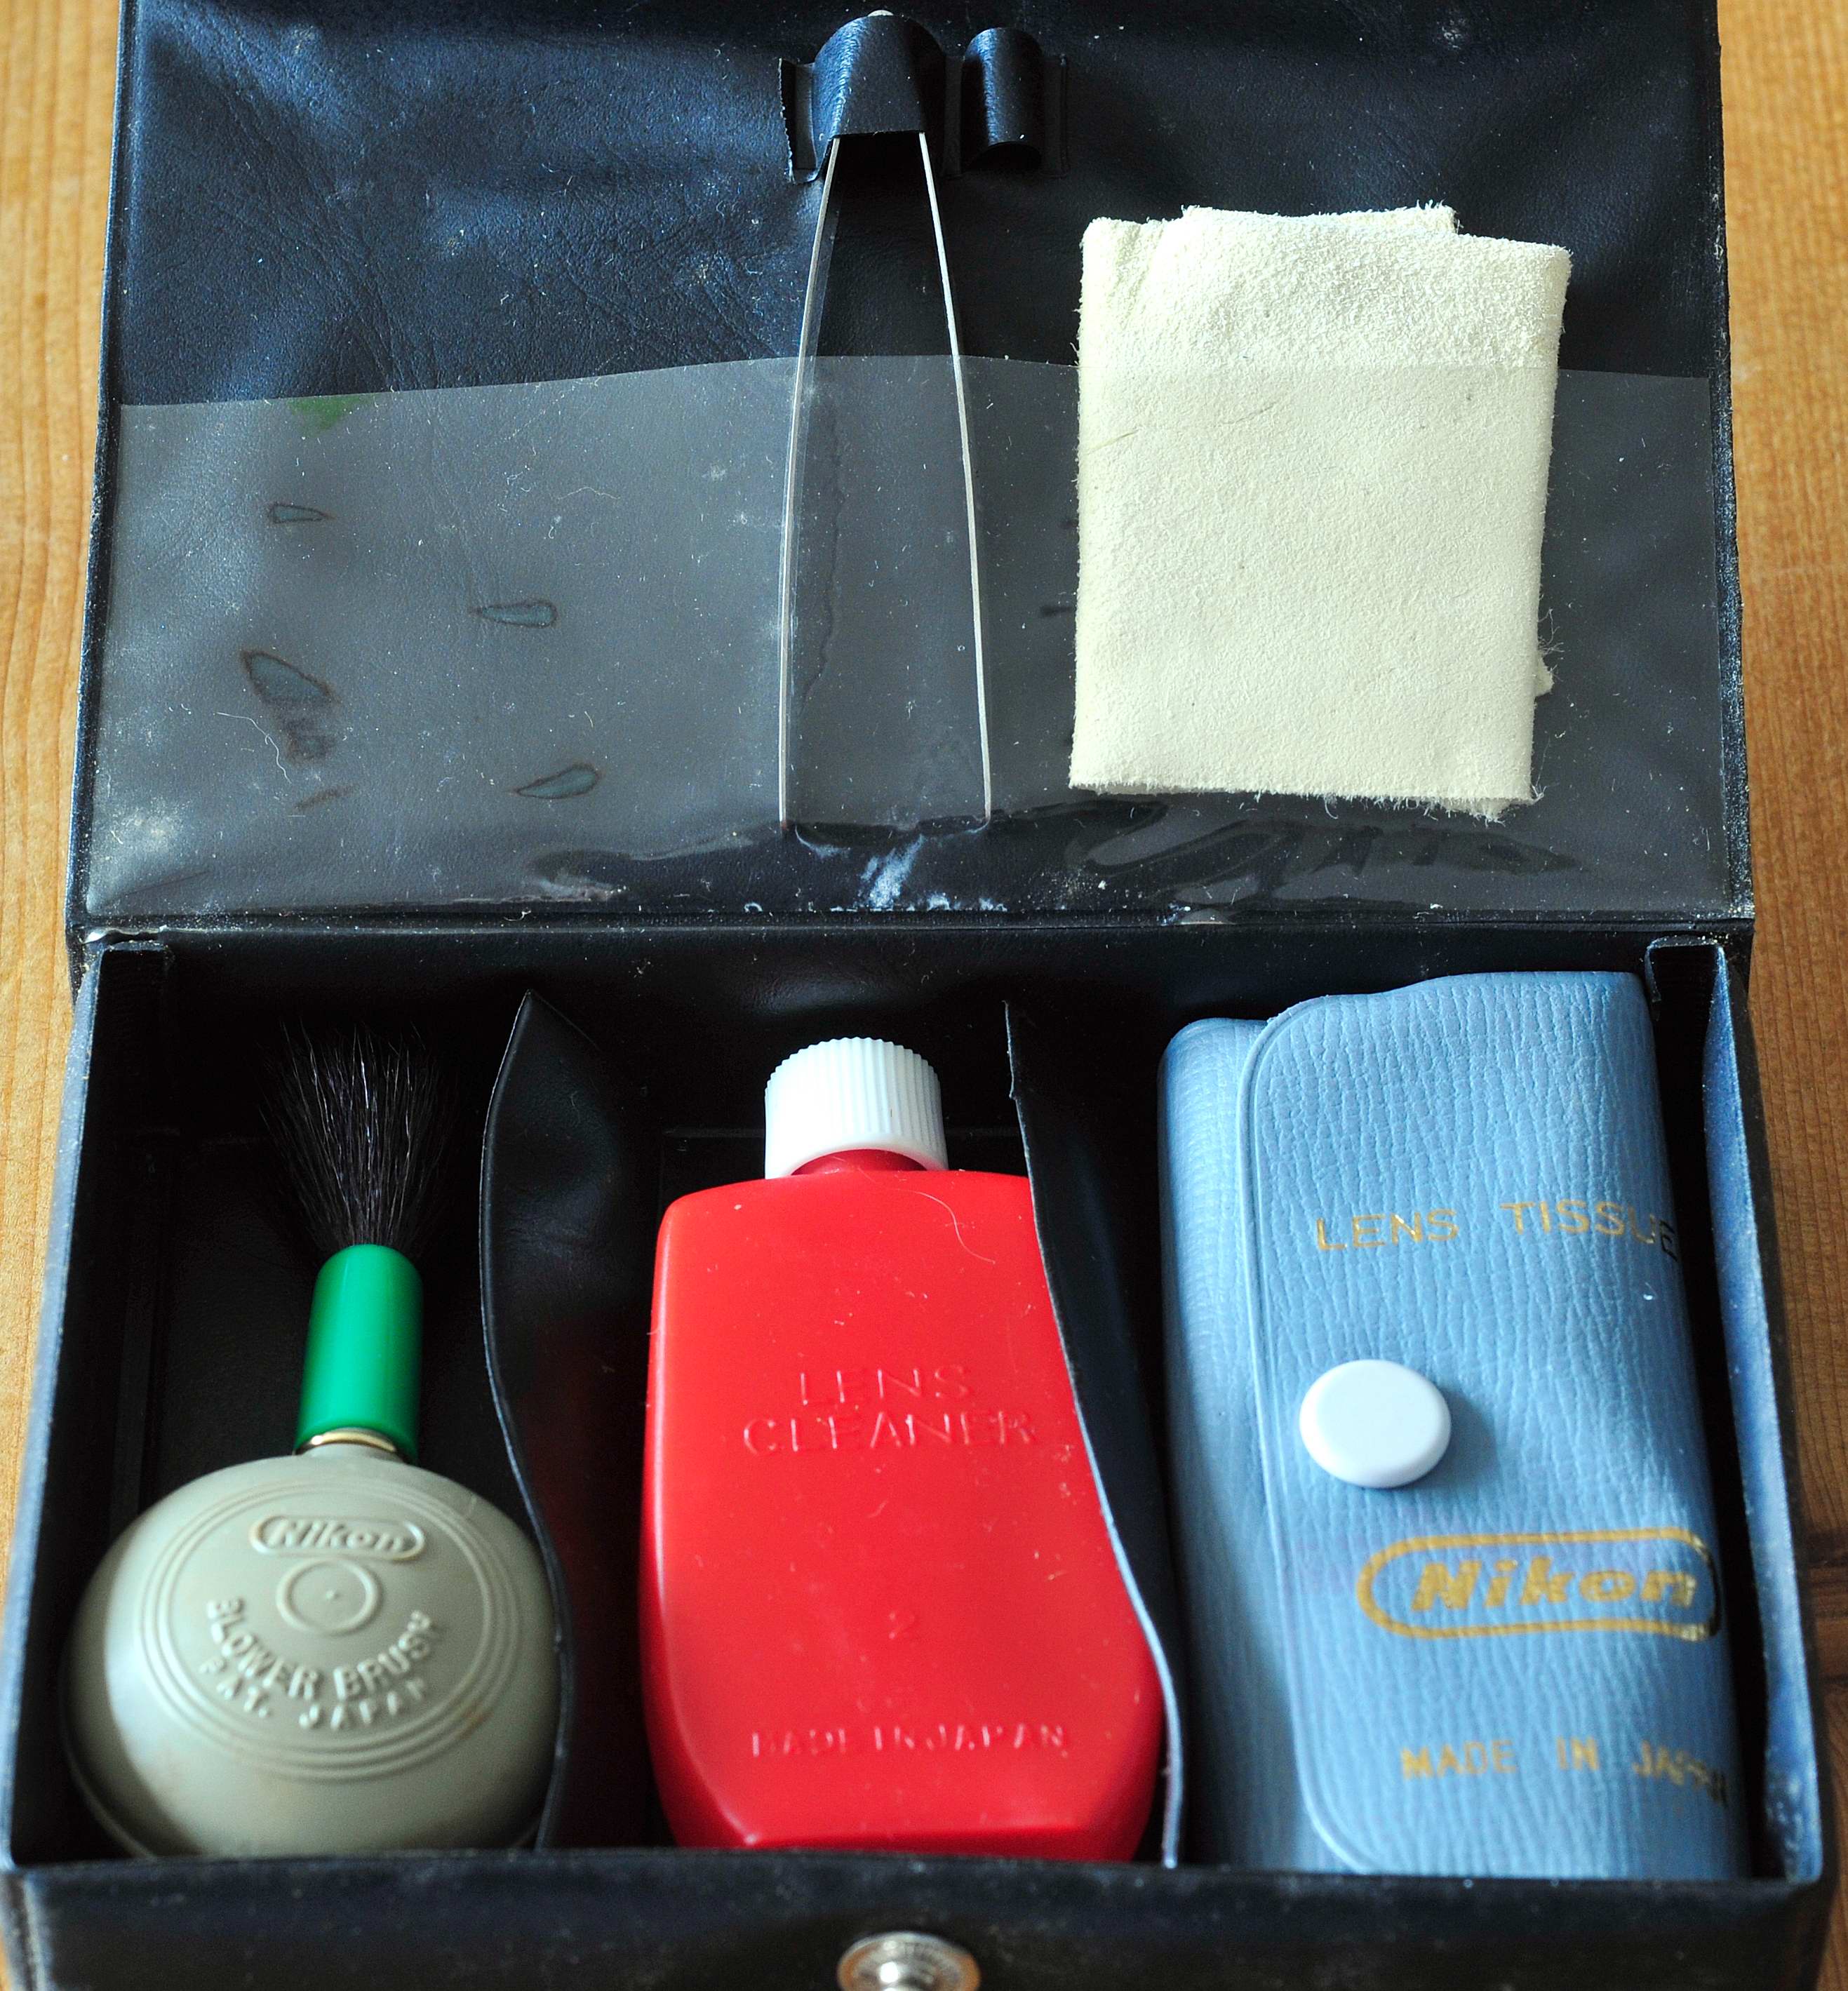
Nikon once sold camera and lens cleaning sets; now rare items!
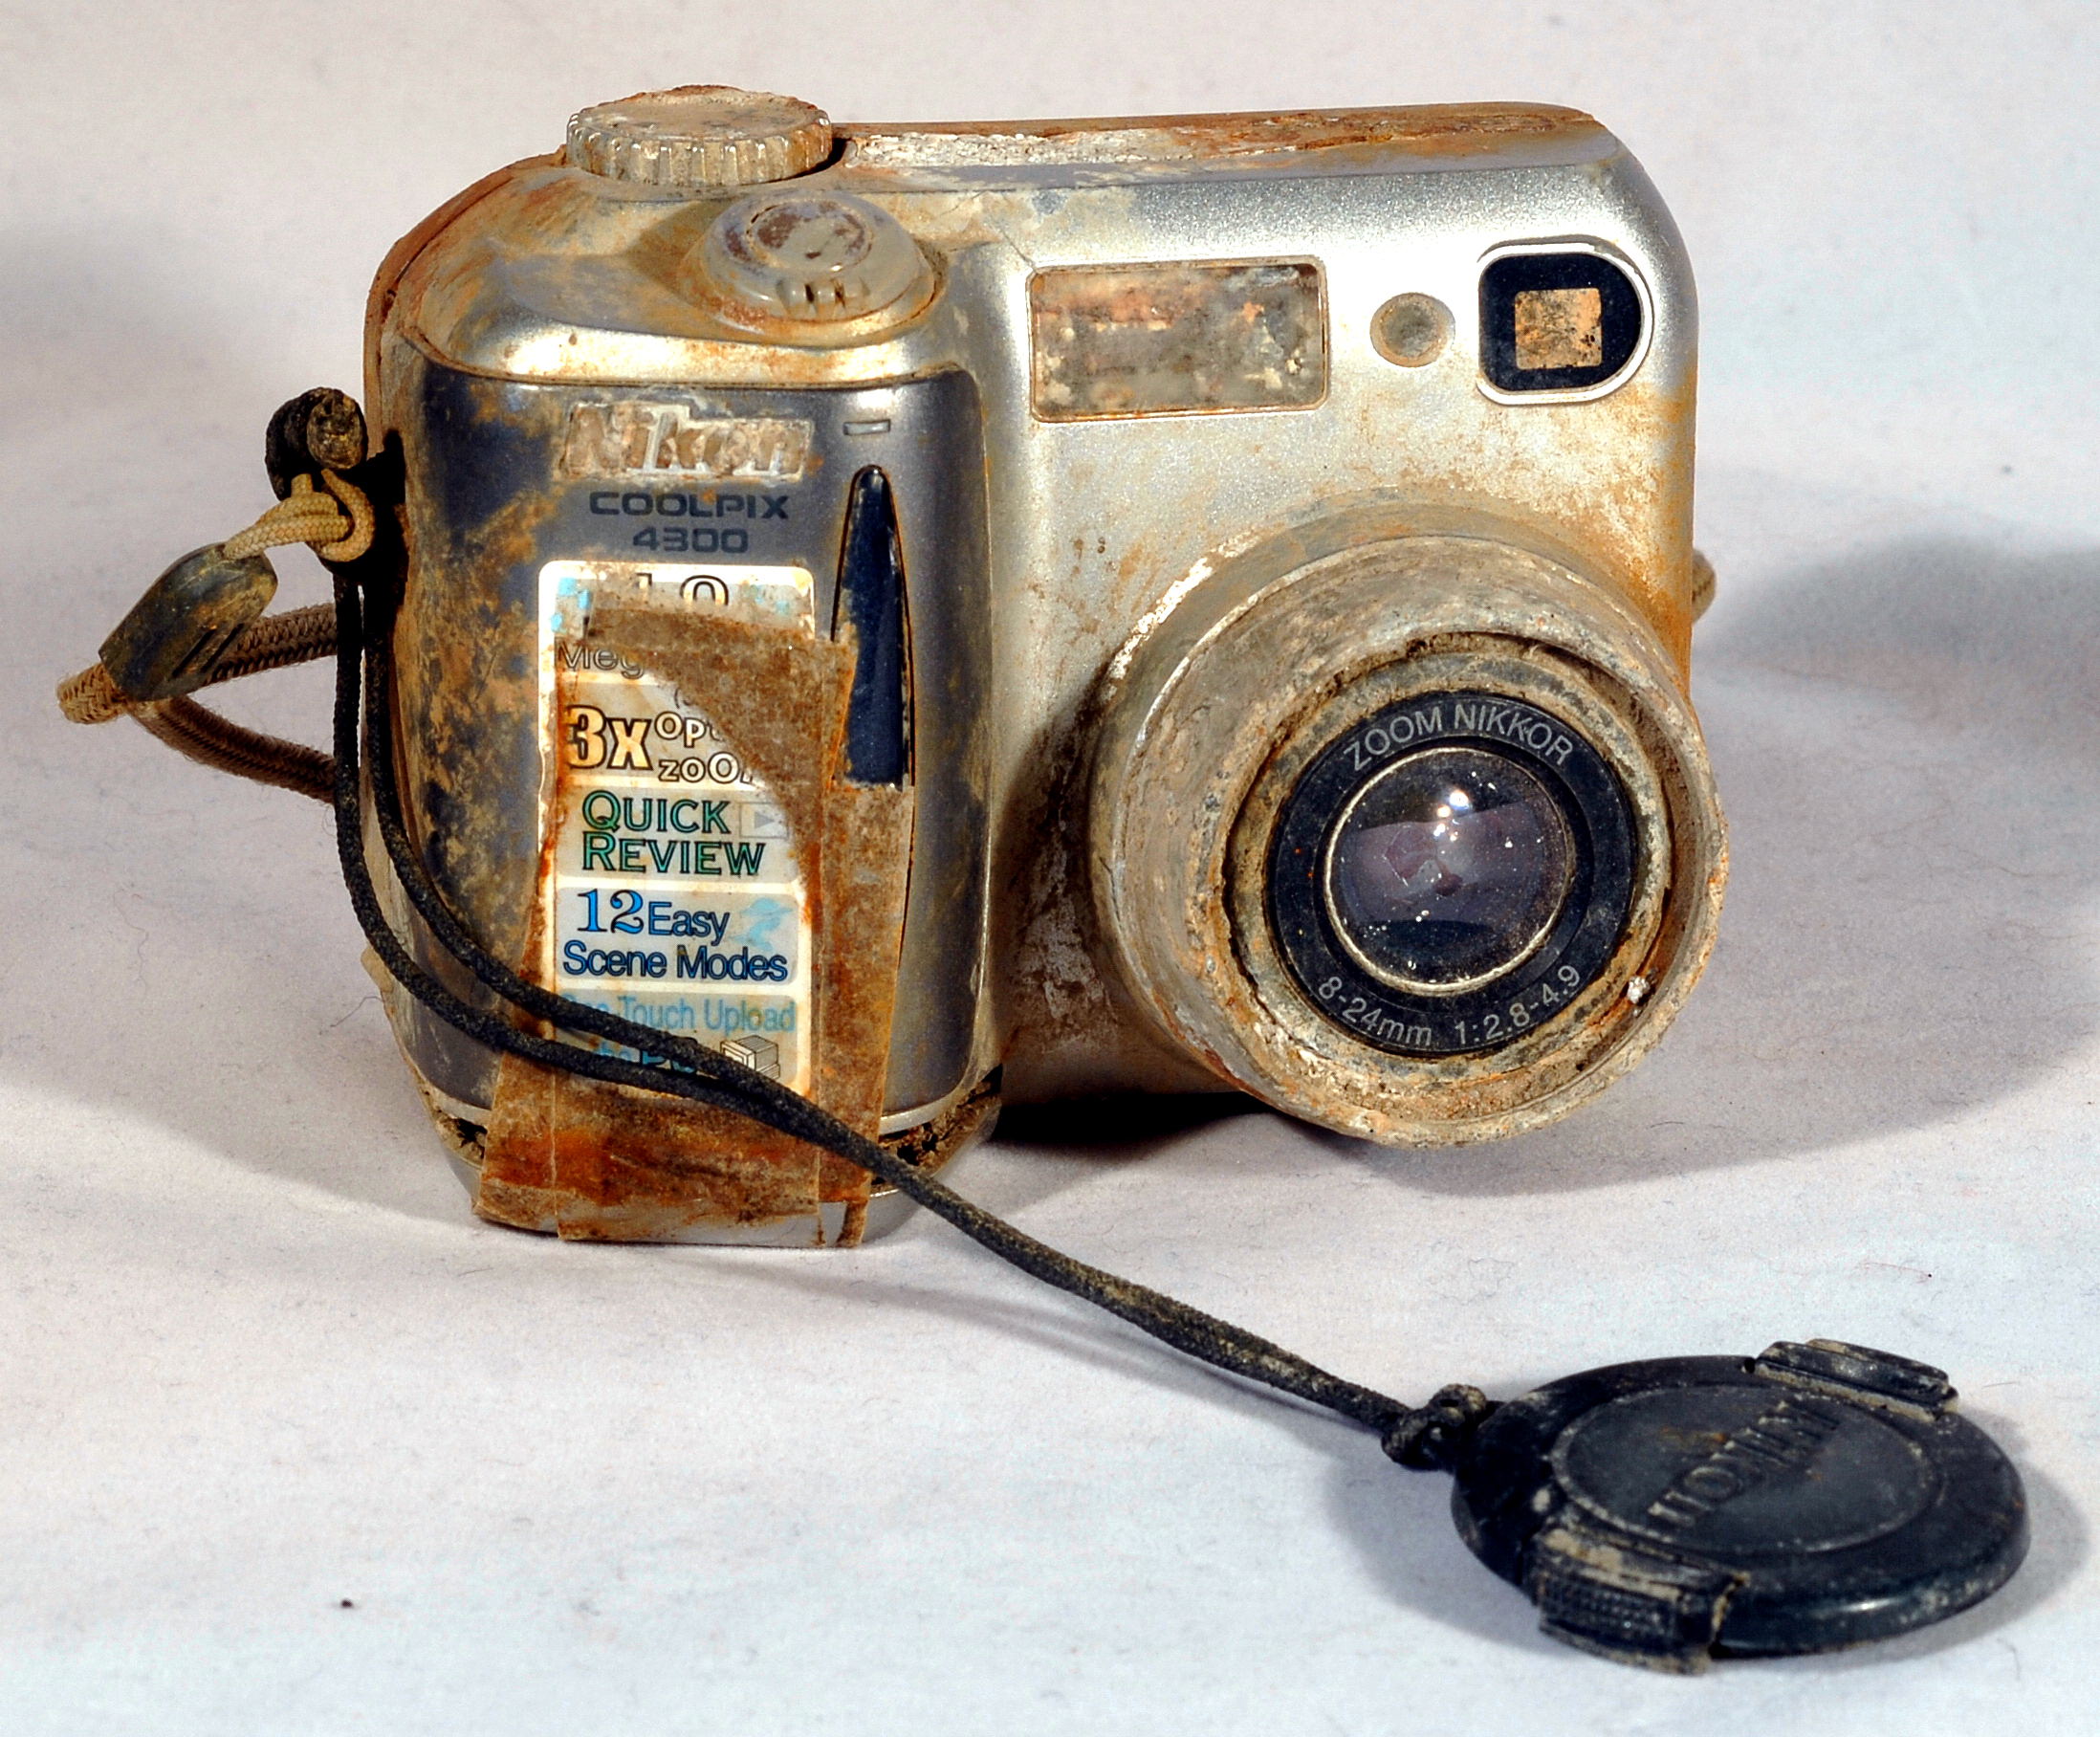
This Coolpix went for a dive..............
Cleaning camera bodies and lenses belongs to the regular maintenance of your gear, even if it is locked up in boxes or so. Don´t use alcohol or acids as it may damage lens coatings, paint, leather or plastics. Never touch a lens element with your fingers. Propane-carbon-acid (aka butter acid) is a part of human sweat that can harm any lens coating easily. So use latex (surgeon) gloves. Be careful in using detergents as they may contain acids etc. Polish, dishwasher detergent or kitchenware soap may damage glass or its coating or may stick/suture to glass. The best cleaner for lens or glass elements is ´beer glass cleaner´, sold (in most countries) e.g. by Reckitt Benckiser as ´Calgonit´. It is used by barmen to clean glassware (beer glass). Calgonit doesn´t stick to the glass but removes greasiness and it doesn´t leave rings, etc. For a beer/ale drinker essential as the beer foam w´nt get ´killed´. Use only a tiny drip of Calgonit in a normal glass of water (200 cl., not too cold and not too hot = hand warm) and wipe the lens immediately but carefully (in a circle move) dry.
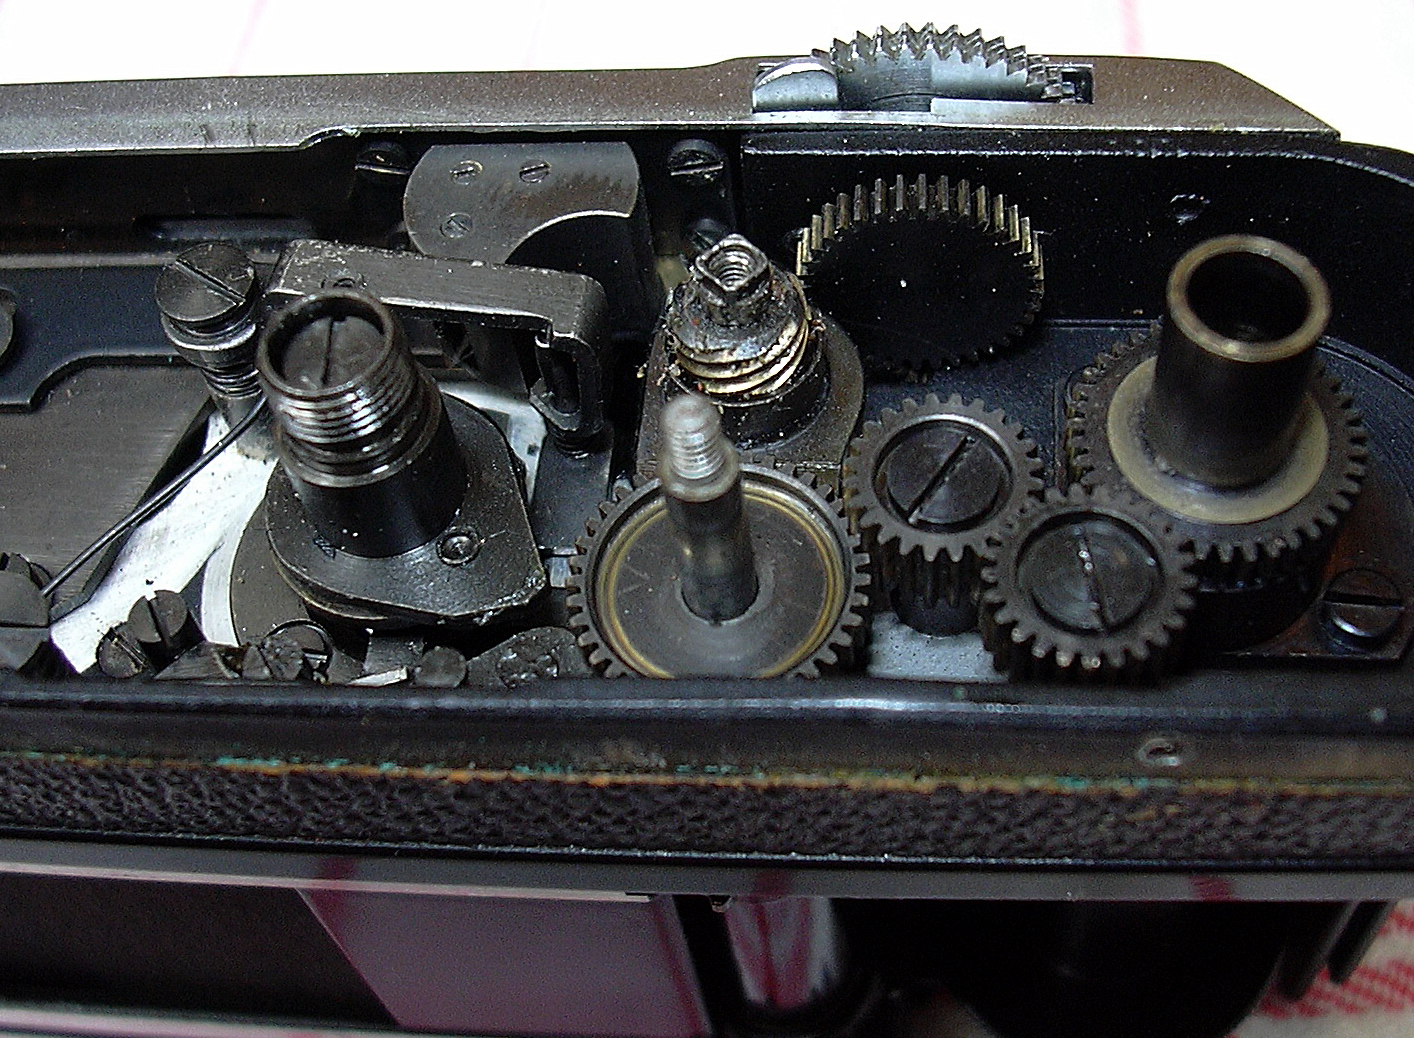
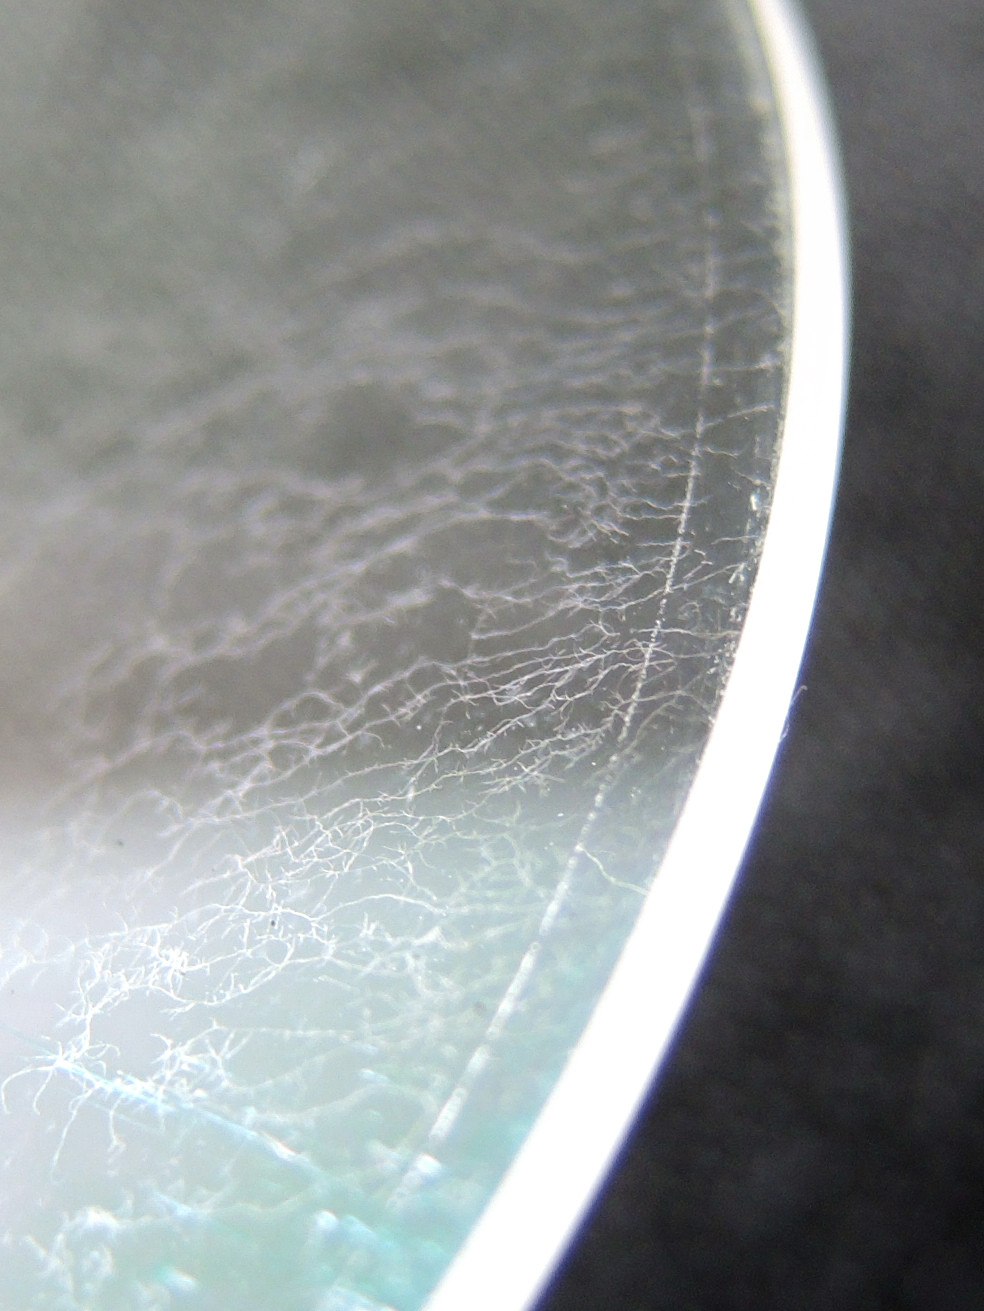
Fungus on a lens element. Fungus is a microscopic structure of mold or mildrew, growing as a thread-like structure from the edge of a lens element towards the centre. It occurs when a lens is stored in a warm and very humid place. It may damage any lens coating and even a glass element. Fungus can be removed with a lens cleaner or with water with a drip of ammonia added. If fungus has damaged the glass element repair may become impossible. You may use a lens with fungus but light transmission will be hampered and aberrations are obvious. Note: Don't use alcohol or methylated spirits as most older lenses are glued together with Canada Balsam. Canada Balsam is based on the resin of the Canadian pine tree (Abies balsamea) and will become turbid/cloudy if alcohol is used! If the leather covers of your old camera (rangefinder cameras are covered with Moroccan goat skin) has become dull it may be too dry. To give it a vivid glow you may use a drip of very thin (highly refined) oil, like the oil a butcher uses to lubricate his meat mincer. So called Venetian Cream may restore black leather as well. Soft kitchen paper or any other soft paper that doesn´t fluff can be used to dry items. Don´t use cotton or synthetic towels. Dry a lens always in a circular wipe. When an item is not in use, cover it with the original caps and keep it in your bag or box. If heavily or frequently used take every day a minute to clean your gear. Special attention to underwater housings or Nikonos equipment: after a dive into the sea or river, take the whole equipment under a fresh water shower and see to it that sea or river water and dirt is washed out. After that dry it with a soft towel and if you are sure that it is dry open it and check possible leaks. Check all rubber rings, give them some new grease or replace them. To check leaks use air under pressure. Never use water to locate leaks! To avoid damage to lens surfaces use original Nikon filters. Nikon UV (L37c) or NC filters do not harm any image. Replacing a filter is cheaper than replacing a front element. Digital SLR cameras may get some dust on the mirror or sensor. In fact the sensor will not be dusty but the filter in front of it. Study the camera manual carefully, as for each camera there is a special procedure to clean the sensor/filter. NEVER touch the sensor/filter with your finger or any other object. You may use a blower, like the patented Giotto blower, that sucks up air at the back of the blower. To lift the mirror use a net adapter as batteries may run flat. Some cameras do have a procedure of making a reference picture first. When enlarged on a computer monitor dust particles can be seen. Maintenance Professional photographers, using their equipment nearly every day, should stick to a maintenance or service schedule. Although Nikon cameras are made for a long life and e.g. shutters are tested up to 150,000 activations - at least - once a year a general overhaul by a professional serviceman is a necessity. If not in use store your equipment in a dry dust-free place. Remove all batteries. Cocking a shutter before storing the camera is not necessary. If old cameras are stored for a long time, you may - now and than - cock the shutter a few times at various speeds; just to keep it going. In older mechanical cameras slow shutter speeds (1/20th sec. and longer) are often managed by a separate shutter mechanism. So pay extra attention to the slow shutter speeds. Older cameras are also fitted with foam rubber, like the mirror damper. After many years a certain softener in that foam will evaporate, resulting in a sticky mess. Carefully remove that foam and its glue and replace it (see below in next chapter). Selenium sensors in exposure meters may give the same (non-repairable) problem. Repair Repairing or restoring a camera, lens or other photographic equipment will only become a successful operation if you are not stressed and you are not all fingers and thumbs. Take your time, buy/use adequate tools and install yourself at a quiet place with decent illumination. If you are/get tired, continue the next day. Before starting to disassemble something, take a pen and paper and write down what you are doing in chronological order. This helps you to re-assemble the item in a proper way. Use lens caps or small cups for screws etc. You may also consider to use (color/black-and-white) checked material (table-mat), so you can easily group parts. Do not use or sit on a deep-piled carpet. To find back that particular screw may drive you mad! Tools
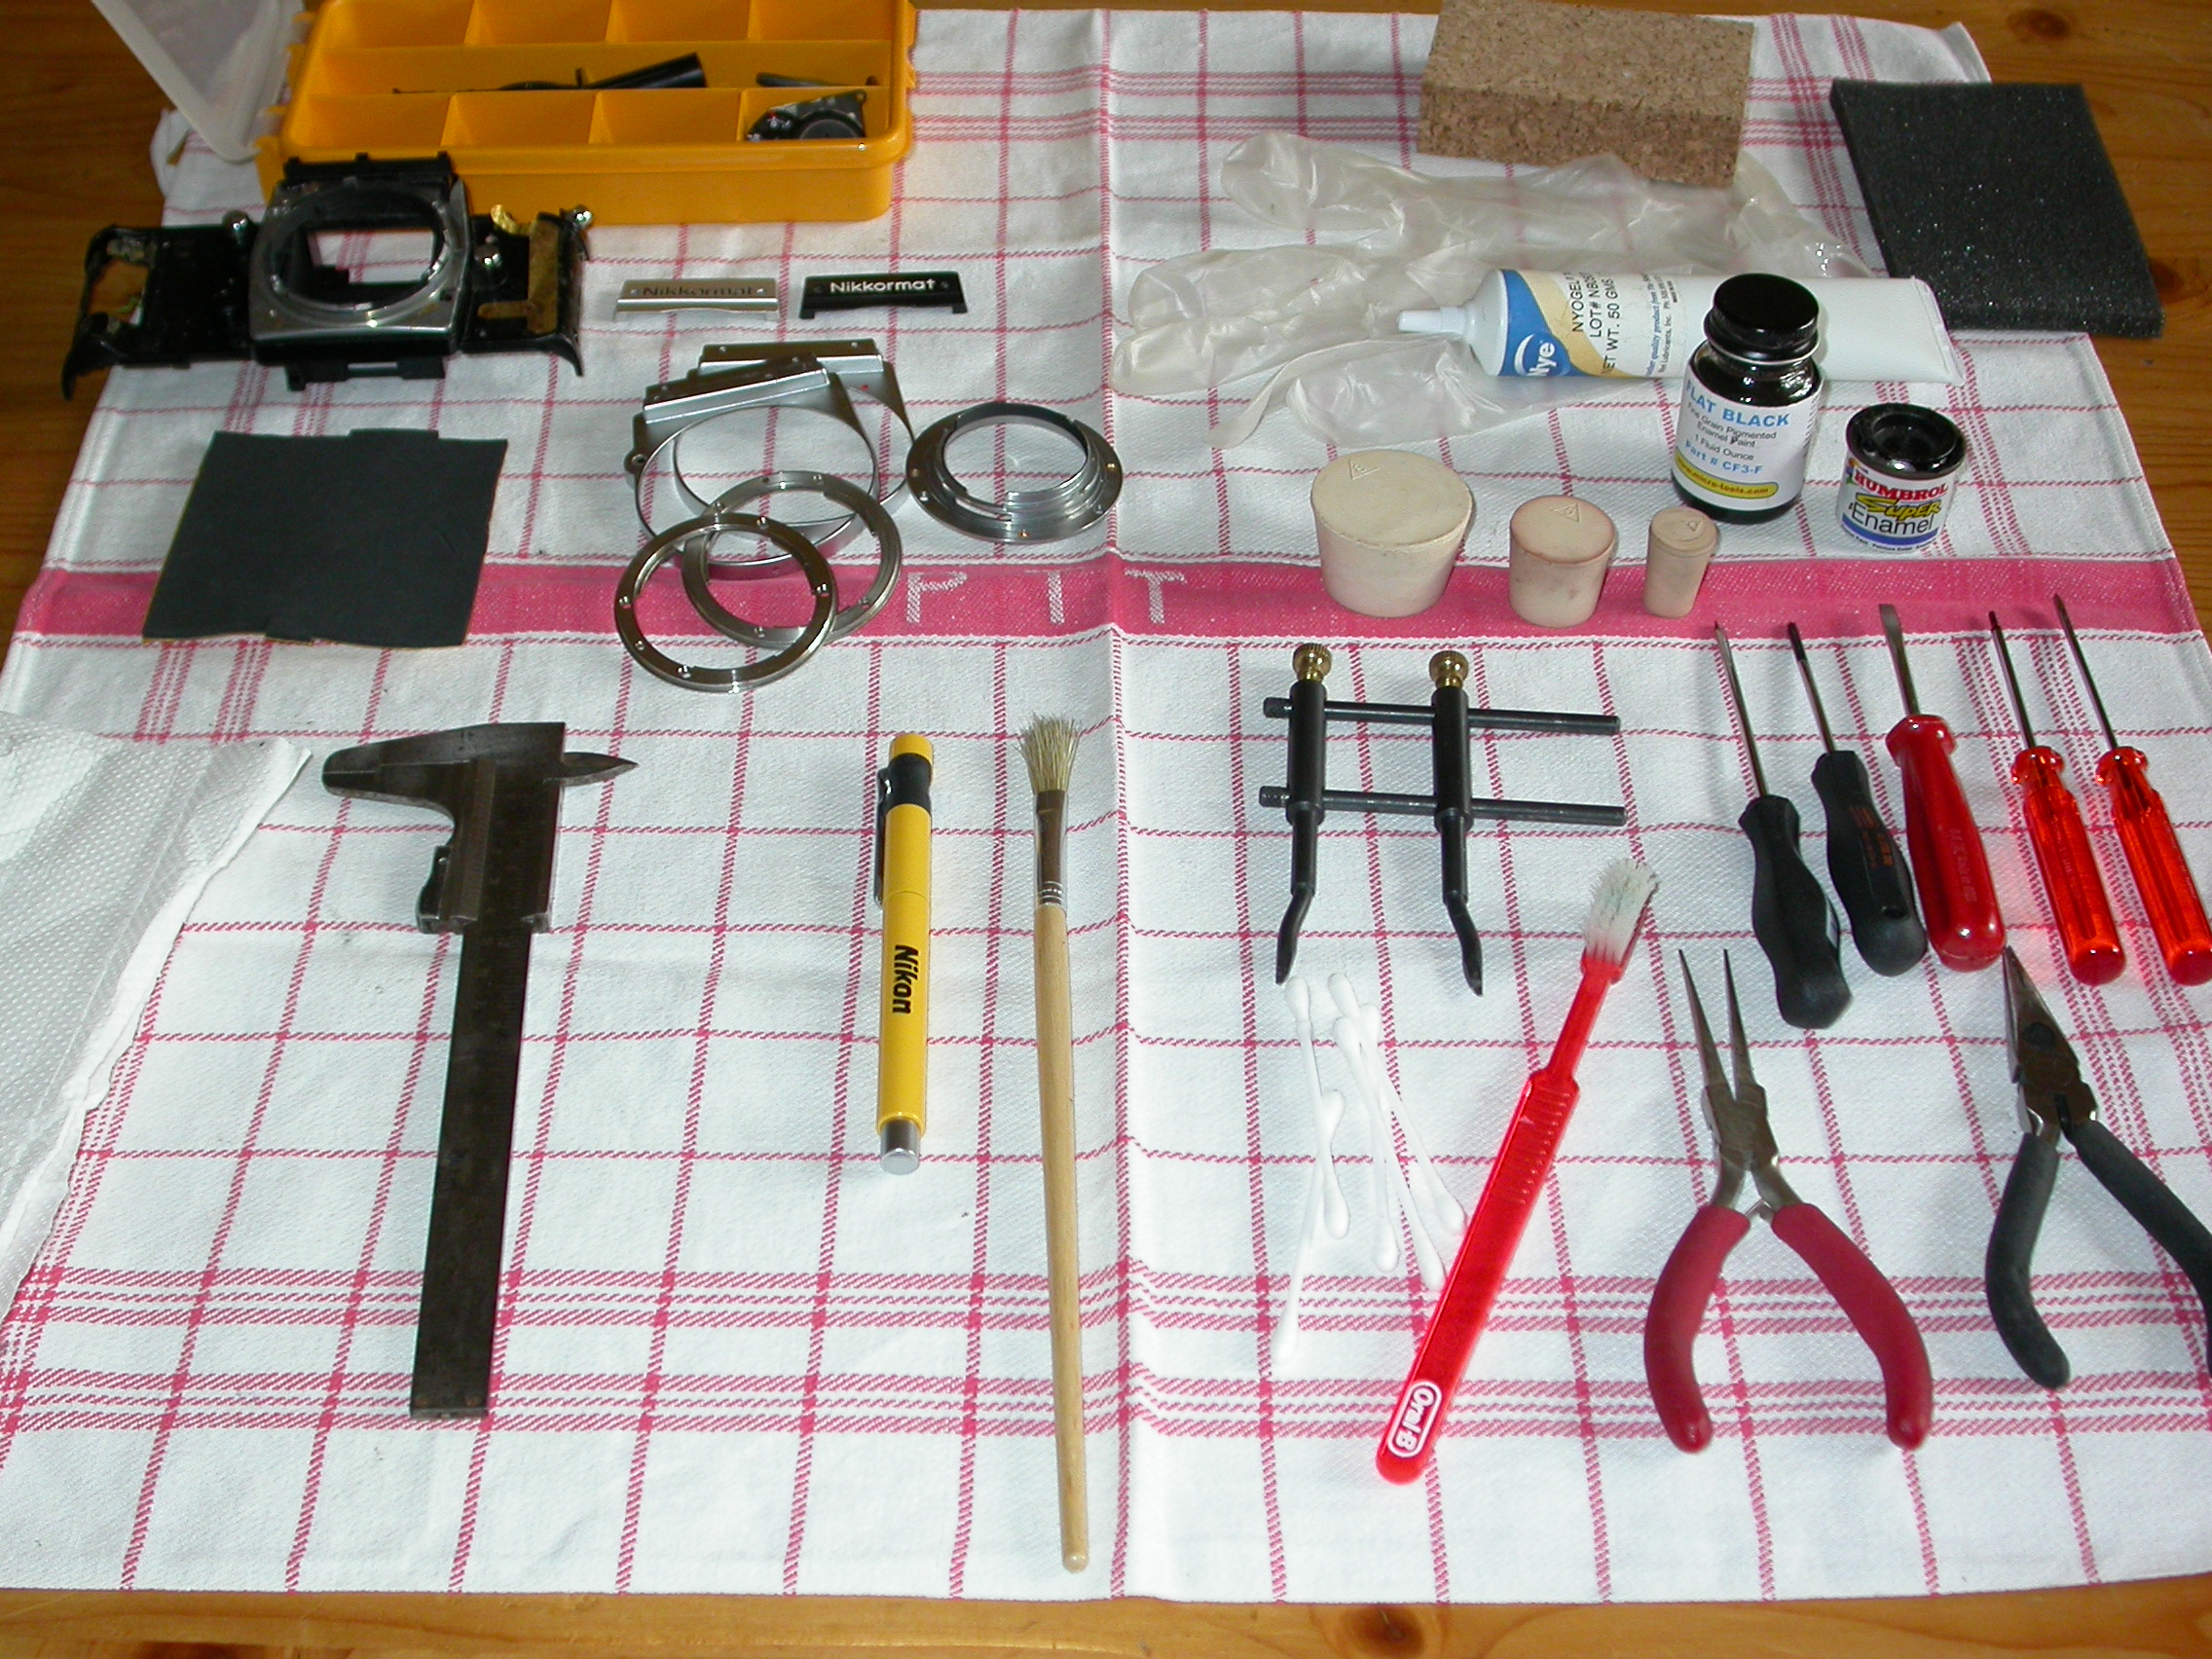
´Mise en place´ with most relevant tools As stated above good tools will ease the job. Buy a pair of tweezers, a spanner wrench set, a screw driver set (for slotted screws and for cross head screws), a L-wrench set and some gum rubber (or cork) stops. When buying pliers choose pliers with soft jaws as many metal parts of most cameras and lenses are relatively soft. To remove lenses a lens suction cup is useful. Furthermore buy some soft brushes of various sizes and cotton buds/swabs. When working on a camera a table tripod or PanaVise standard and a headband lighted magnifier might be handy.
Paint Most Nikon cameras and lenses are in chrome, silver or black paint. Cameras with a chrome body should not be repainted. Black cameras can be repainted with black enamel paint. Inside a camera or inside a lens non-reflecting paint should be used. Ask a paint shop for black primer, which is or should be mat. If a lens element has a chip (broken off) on its side tip it with some black primer. Do not use too much paint!
|